Showing posts with label dyneema. Show all posts

Tuesday, March 25, 2014

Dyneema Rigging

When Zuline was launched she had beautiful hand spliced galvanised rigging. It was done by a very talented friend and it was very effective rigging. It was also very heavy - heavier than it needed to be.
Roll forward nearly 10 years. Zuline's mast was in sad need of some care and attention. She was launched in mid winter and it had been very difficult to get varnish to go off in the cold community hall where the mast had been. Consequently she was launched with only about 3 coats of varnish on the mast. We had chased the varnish for a number of years, just keeping ahead of it from a harness suspended from a halyard. A period of ill-health had put a stop to that and the mast had deteriorated.
We decided, after much agonising, to pull the mast out, strip the mast back to bare wood, make the minor repairs required and then get a decent cover of varnish on it.

On December 16 last year the mast came out, and it was a sorry sight. We set it up on trestles and got loose with the heat gun and scraper to remove the remaining varnish. It quickly became apparent that we might as well do a proper job and remove all the hardware as well. We needed help!! So we engaged a local shipwright to remove the hardware, do the minor repairs, sand the mast and prepare it for varnish. Once done Celia put 6 coats of Werdol Rapid Clear then 6 coats of Werdol Clear Varnish on both the mast and the boom. We are very impressed with this system so far. The Rapid Clear requires no sanding and only 5-6 hours between coats. So you get a quick build of product with lots of UV protection. Then the Clear Varnish requires sanding and 24 hours between coats. After this the spars looked glorious.

Meanwhile we had decided that all the near water stays (bobstay, whisker stays and boomkin stays) needed replacement. However we couldn't find anyone in Melbourne to splice them up in stainless. Eventually I tracked down Joe Henderson in Sydney who said "Put them in the post. We can splice them in galv, though I wouldn't recommend it, stainless or Dyneema." We settled on heat set Dyneema with overbraid.
Between Christmas and New Year we took a good hard look at the other stays and realised that whilst they mightn't all need immediate replacement they would soon enough. We took the tough decision to re-rig completely in Dyneema with overbraid. This was beginning to be a money pit. That's the problem with unexpected expenditure.
The thimbles were made on a CNC machine from Aluminium bronze with files provided by Joe

The Bobstay is 13mm Dyneema with Overbraid and served overall

Stays for a Lyle Hess 32 foot cutter

Whilst we were at it we embarked on a mission to remove anything hard or heavy that had been damaging the spars, particularly the bowsprit. As well the stainless lifelines gave way for new Dyneema ones.
The bronze piston hanks from the two headsails were quickly removed with a set of bolt cutters and replaced with our own design of Dyneema soft hanks.
The hanks were made from 2.5mm Dynex and are captive on the sail

Finally the big day arrived and the mast was stepped. It was a great relief to have all the work come to fruition after almost 4 months out of the boat.
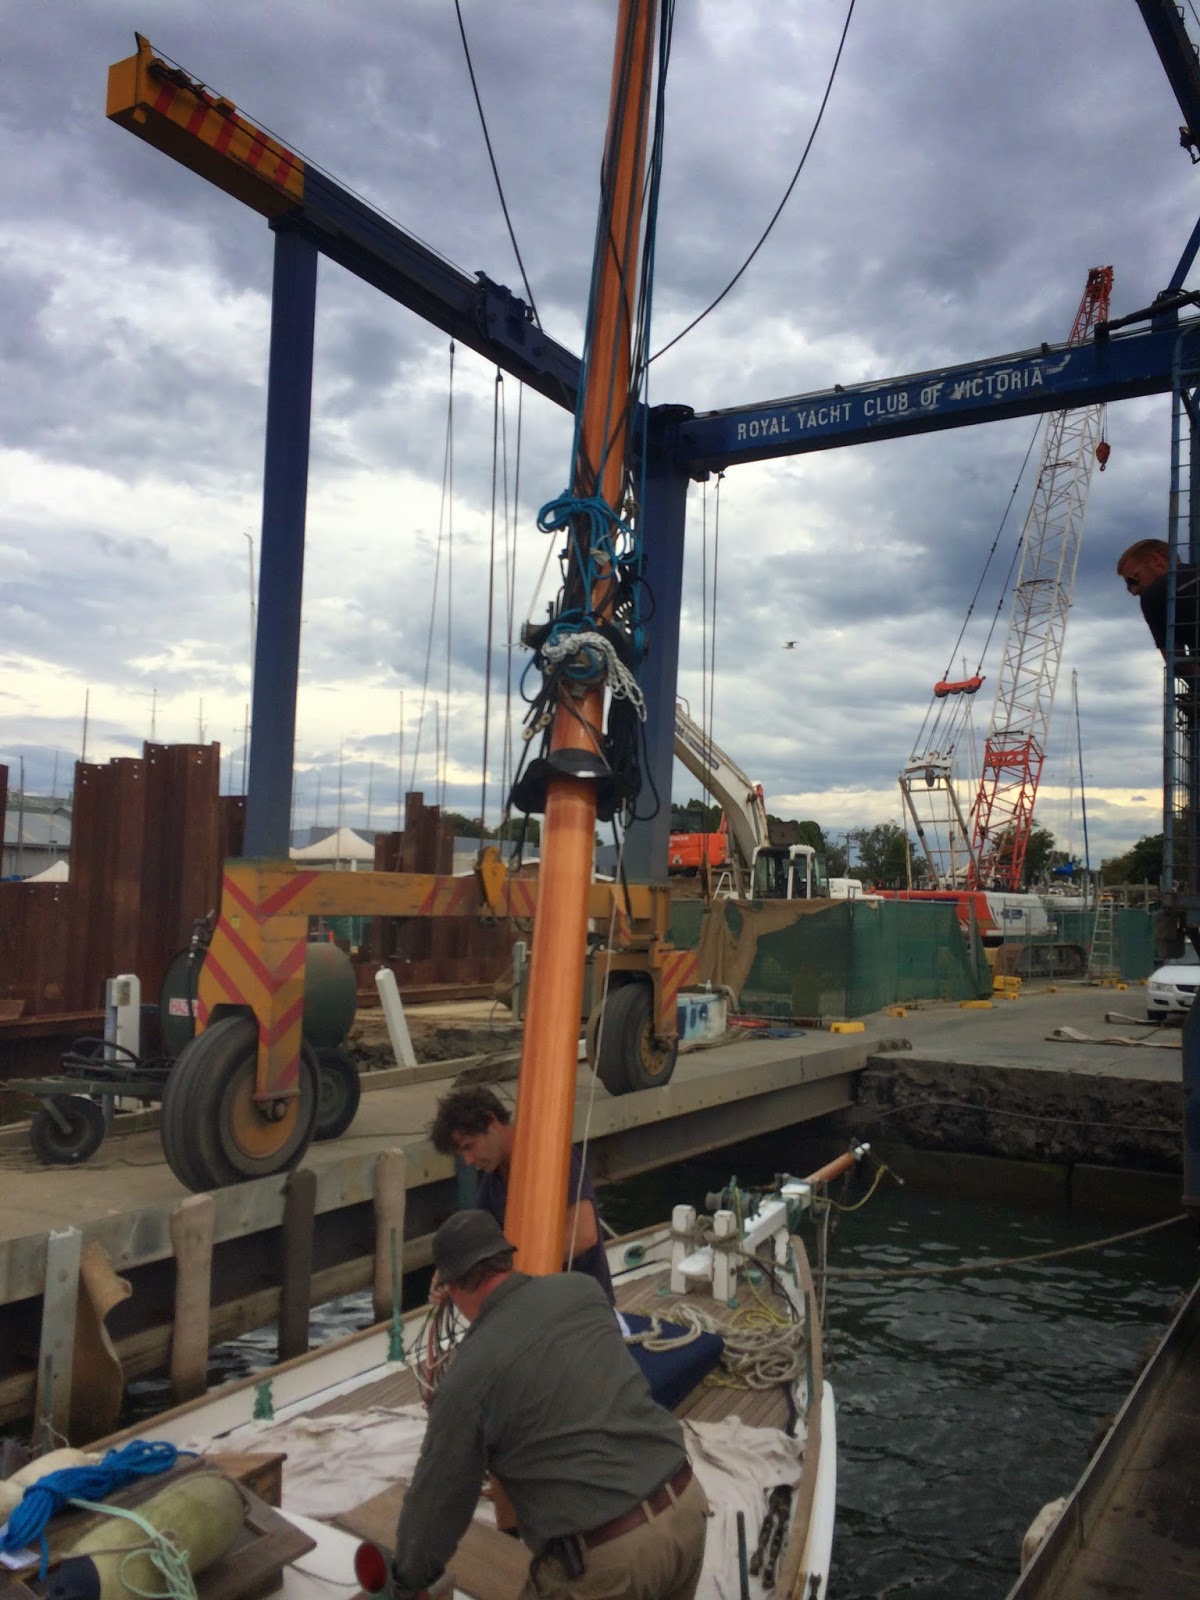
The end result is a different rig entirely. We removed 9kg of near water stays and 52kg of above deck stays. In their place we put back 3kg of near water stays and 13kg of above deck stays - and that includes the bronze bobbins. This represented a 74% saving in weight! Further weight reduction has come with the removal of the stainless lifelines, removal of stainless shackles and replacement with soft shackles, removal of reefing winches and a rethink of reefing...Overall the weight reduction is of the order of 70kg.
Joe Henderson was pleased with the outcome - and so are we. Joe had to remake only one stay on the day after launching and that was a quick and simple exercise. All the others fitted perfectly out of the box...and they look the part.
A happy rigger with his work

Now we just have to tackle the rest of the varnish. After the mast, that all looks quick and simple!

Thursday, February 25, 2010

Cutting Dyneema & Spectra

This is just a quick thought for all those people who have tried to cut this stuff with a knife or a set of cutters. Whatever you use it seems to be very hard to cut. Even an apparently sharp knife often leaves a ratty end after you have sawed away at it. A hot knife slices right through it but the result is pretty ordinary and the material doesn't really melt in the way that something like nylon does.
In frustration the other day I reached over and picked up a big Japanese Deba. For those unfamiliar with a Deba it is the Japanese knife used for filleting fish. It looks nothing like a western filleting knife: instead it's heavy - the blade is often 3-5mm thick, sharpened only on one side and very broad. Like most Japanese knives the steel is harder than western knives and it is sharpened at a finer angle. Having said that, Deba traditionally have softer steel than most other Japanese knives in order to avoid chips when hitting small fish bones.

The Deba in question

The Deba I use is a modified Deba - the steel is slightly stainless rather than simple high carbon and it has a western style handle. Nevertheless it takes a seriously wicked edge with a few swipes on a water stone. This knife is so sharp that it's not until you see the blood that you realise you have cut yourself. It is the sharpest knife in the house and I have several other very sharp Japanese knives.
Back to the Dyneema. The stuff I wanted to cut was both heat set and "normal". I put it on a board and the Deba just glided through it. I was pretty stunned. I had expected that it might help a bit, but this was a revelation...it just sliced straight through the material, no deformation, no ratty ends, it just did it.
The problem is that you don't want to be carrying around 420g of knife with an 18cm blade and 32cm in overall length - that's nearly a pound of knife and over a foot long in the old measurements.
I think there are options however, a Ko Deba is a smaller version of this knife and it comes with blade lengths of around 8 or 9 cm - so half the length of mine. An example is here.
This might become an essential rigging tool. However you'll also need to learn how to sharpen a single sided blade and you'll need some decent sharpening stones.
Perhaps a good starting point for understanding this knife is to go to Watanabe Blade and have a look at some. It's also worth having a look around that site at other knives. Please be aware that Watanabe San says he's very busy at the moment! Just for reference Watanabe's small deba have a blade thickness of 3.2mm whilst my large Deba has a blade thickness of 5mm.
Two final things to be aware of: most Japanese traditional knives are high carbon steel and therefore they will rust easily unless cared for - camellia oil is your friend! The other point is that the steel is hard and therefore more brittle than the knives you may be used to. If you maltreat these knives they will chip and it is a sad thing to see. Some of the knives have a soft iron back forged to a hard steel cutting edge. These are stronger knives but the cutting edge is still hard and therefore prone to chipping if maltreated. I'm not sure they will take being hit repeatedly with a marlin spike or mallet!